 how-to
How to Inspect a Used Motorcycle: 2026 Buyer's Checklist
Table of Contents
- Step 1: Gather Your Tools and Set Up the Inspection
- Step 2: Cold Start, Idle, and Throttle Response
- Step 3: Frame, Suspension, and Fork Seal Inspection
- Step 4: Brakes, Tires, and Drive Chain Condition
- Used Motorcycle Pre-Purchase Checklist: Electrical, Fluids, and Digital Diagnostics
- How to Test Ride a Used Motorcycle Safely
- Motorcycle Safety Inspection Requirements and Legal Paperwork
- Conclusion: Making a Confident Offer
- Frequently Asked Questions
Last Updated: September 26, 2026
Step 1: Gather Your Tools and Set Up the Inspection
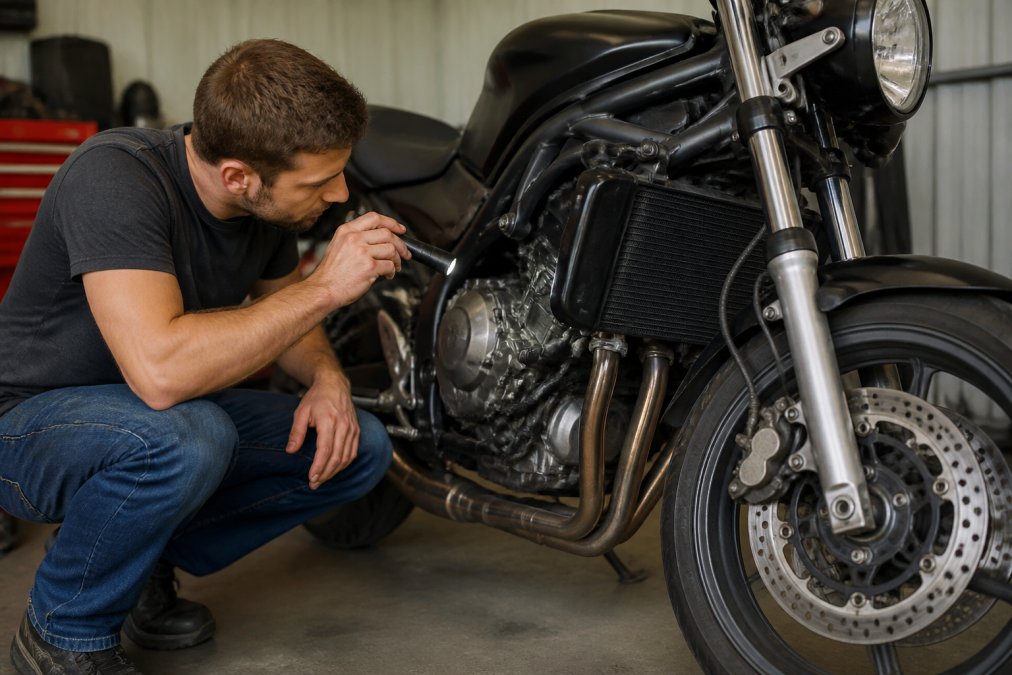
You do not need a full shop to inspect a used motorcycle. A flashlight, tire pressure gauge, multimeter, and clean rag cover most of the job when you inspect a used motorcycle. This guide walks through the same checks our team runs before taking a bike into inventory.
What You'll Need for a Thorough Inspection
- Flashlight or headlamp
- Tire pressure gauge and tread depth gauge
- Multimeter for battery and charging checks
- Clean rag and a small magnet
- Gloves and a notepad
- The bike's VIN, visible on the steering neck or frame
Bring a friend if you can, a second set of eyes catches leaks and cracks you will miss.
Step 2: Cold Start, Idle, and Throttle Response
Start the engine cold and let it idle. A healthy bike settles into a steady idle within a minute or two. Listen for timing chain rattle on startup, a brief metallic slap before oil pressure builds.
Step 3: Frame, Suspension, and Fork Seal Inspection
The frame is the one part you cannot replace cheaply. Run your hands along the chassis for cracks, ripples, or mismatched paint that hints at crash repair. Lift the front wheel and turn the bars slowly, any notch or click means worn steering head bearings.
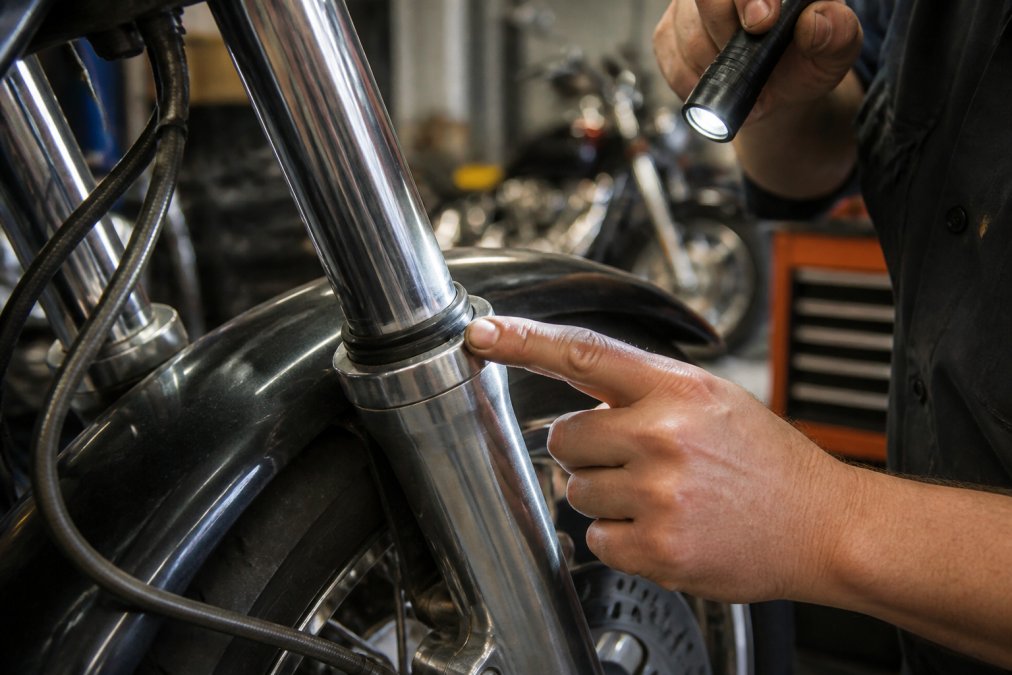
Check Steering Head Bearings and Wheel Bearings
Grab the front wheel top and bottom and rock it, play means worn wheel bearings. Spin each wheel and listen for grinding, then push the suspension down and let it rebound; it should return smoothly, without a clunk.
Step 4: Brakes, Tires, and Drive Chain Condition
Brake pads should have at least a few millimeters of friction material above the backing plate. Check rotors for deep grooves or a blue tint (overheating). Squeeze the front lever and press the rear pedal, both should feel firm, not spongy.
Reading DOT Date Codes and Checking Tire Tread
Every tire has a DOT date code on the sidewall; the last four digits give the week and year it was made (1922 means the 19th week of 2022). Many riders replace tires past six years old, regardless of tread.
| Check | What Good Looks Like | What Fails |
|---|---|---|
| Brake pads | Several mm of material | Metal-on-metal contact |
| Rotors | Smooth, even surface | Grooves, blue tint |
| Tires | Even tread, no cracks | Flat spots, sidewall cracks |
| DOT date code | Under six years old | Older than six years |
| Drive chain | Snug, moves freely | Stiff links, rust |
| Sprockets | Symmetrical teeth | Hooked or pointed teeth |
Used Motorcycle Pre-Purchase Checklist: Electrical, Fluids, and Digital Diagnostics
Electrical faults are the hardest problems to spot on a quick walkaround, and the ones sellers most often hide. Bring a multimeter and work through the system in order: battery, charging system, then every circuit.
Battery and Charging System Testing
Test battery voltage with the engine off and key out. A healthy, fully charged lead-acid battery reads above 12.4 volts; 12.0 or lower means discharged or failing, and under 11.8 volts under no load usually means it will not hold a charge. Write the number down.
Using an OBD Scan Tool on Fuel-Injected Bikes
On any fuel-injected motorcycle built after roughly 2000, a scan tool can pull stored and pending fault codes the seller may not mention. Many bikes store history codes even after the warning light clears, so a clean dash does not mean a clean computer.
When you scan, look for three things:
- Active codes, faults the computer is seeing right now. These are the ones that matter most.
- Pending codes, faults that have occurred once but not yet triggered a light. These often point to a sensor on its way out.
- Freeze-frame data, the conditions (RPM, temperature, speed) recorded when the fault set. This tells you whether the problem happens cold, hot, or under load.
Fluid Inspection: Oil, Coolant, and Brake Fluid
Check the fluids while you are there. Fresh oil is amber and translucent; dark oil is normal on a used bike, but milky or frothy oil points to coolant mixing with the oil, a serious internal problem. A strong gasoline odor can indicate a leaking injector or repeated flooding.
Corrosion and Ground Checks
Rust is common on bikes stored near the coast or outdoors. Check the exhaust, fasteners, fuel tank interior, and battery tray, a flashlight down the filler neck shows clean steel or flaking rust.
How to Test Ride a Used Motorcycle Safely
A test ride is the only way to confirm clutch engagement, throttle response, and idle speed under real load. Ask for proof of insurance and a valid license before you ride, and wear your own safety gear, not a borrowed helmet.
- Confirm the odometer works and matches the title
- Test the brakes hard once, in a safe area
- Check the steering at low speed for wobble
- Feel for clutch slip under acceleration
- Note any warning lights that appear mid-ride
Motorcycle Safety Inspection Requirements and Legal Paperwork
Most states require a safety inspection before you can register a used motorcycle, though the rules vary widely. Some states inspect annually, some only on transfer, and a few have no motorcycle inspection at all. Check your state's motor vehicle agency for current requirements and fees before you buy, because a bike that fails inspection is a bike you cannot legally ride home.
Title and VIN Verification
Verify the VIN on the frame matches the VIN on the title, digit for digit. The VIN is stamped on the steering neck or frame and also appears on a sticker on many bikes. A mismatched VIN can mean a stolen or rebuilt bike that you cannot legally register, and in some cases, cannot legally keep.
Check the title itself for three things:
- The seller's name matches the name on the title. If the seller is not the titled owner, you are buying from someone who has no legal right to sell. Walk away unless the titled owner is present and signs.
- The title is clean, not branded. Words like "salvage," "rebuilt," "flood," or "junk" on the title follow the bike forever and crush its resale value. A branded title is not automatically a dealbreaker, but you need to know what you are buying.
- There is no lien listed. If a lender holds a lien, the seller cannot transfer clear title until it is paid off. Ask for a lien release or a clean title in hand before any money changes hands.
Bill of Sale: What It Must Contain
A bill of sale is your proof of purchase and your protection if the title transfer goes sideways. Every bill of sale should list:
- The full legal names of the buyer and seller
- The VIN
- The odometer reading at the time of sale (and whether it is actual or not actual)
- The sale date
- The purchase price
- Both parties' signatures
Odometer Disclosure and Fraud
Federal law requires odometer disclosure on most vehicle transfers, and motorcycles are not exempt in every case. The seller must state whether the mileage is actual, not actual, or exceeds mechanical limits. A seller who refuses to sign an odometer statement is a seller you should not buy from. Odometer fraud is a federal crime, and a rolled-back odometer is one of the most common hidden problems on used bikes.
Title Transfer and Registration Steps
Once money changes hands, the title transfer is on you in most states. The general sequence is:
- Seller signs the title over to you in the assignment section.
- You complete your portion of the title and any required odometer statement.
- You submit the title, bill of sale, and proof of insurance to your state motor vehicle agency.
- You pay the transfer fee, sales tax, and registration fee.
- You receive a new title in your name and a registration plate or tag.
Protecting Yourself at the Point of Sale
A few habits separate a clean transaction from a legal mess:
- Meet at the seller's bank or a motor vehicle agency branch if you can. A title that clears on the spot is worth the inconvenience.
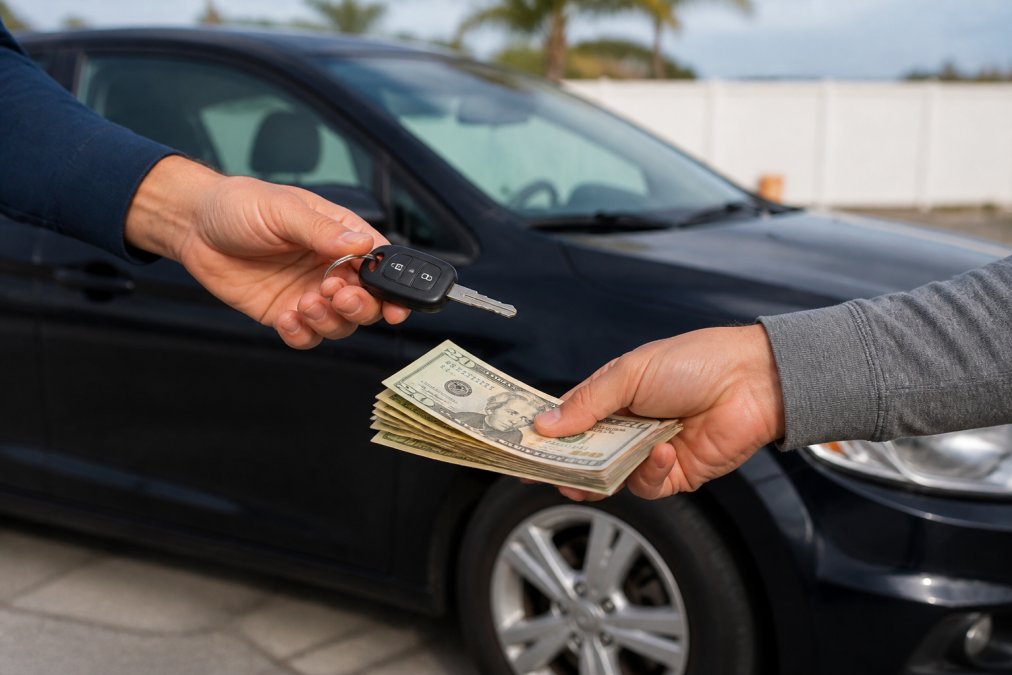
- Pay with a method that leaves a record. Cash is common, but a cashier's check or a bank transfer gives you a paper trail if the deal goes bad.
- Never hand over money before you have the signed title and bill of sale in hand.
- Keep the maintenance records if the seller has them. A stack of service history tells you more about a bike's care than any single inspection.
Conclusion: Making a Confident Offer
A used bike with a few honest flaws is often a better buy than a perfect-looking one with a hidden past. The inspection you just ran tells you what you are really paying for. At CDM Truck And Cycle Sales, we buy trade-ins even if you do not buy from us, and our network lets us source a specific bike when it is not on the floor.
Frequently Asked Questions
What should I check first when inspecting a second-hand motorcycle?
Start with a cold start. Feel the engine and exhaust headers before the seller starts it; they should be cool. A cold start reveals weak batteries, fuel delivery issues, and top-end noises that disappear once warm. While it idles, look for steady RPM, listen for timing chain rattle, and check for exhaust leaks. Then move to the frame, suspension, and fork seals before touching the controls.
What are the biggest red flags when buying a used motorcycle?
Mismatched or missing VIN plate, fresh paint over frame cracks, fork seals that leave oil rings on the tubes, and a seller who refuses a cold start or test ride. A DOT date code older than five years on tires, a drive chain with tight spots, or brake fluid that looks dark also signal deferred maintenance. Any of these justify walking away or renegotiating.
What will fail a motorcycle inspection?
Common failures include non-functioning headlight, turn signals, or brake light; tires below the wear indicator or with cracks; brake pads under 2mm; loose steering head bearings; and a drive chain that is stretched beyond the service limit. A cracked frame, leaking fork seals, or an exhaust that exceeds sound limits also fail. Check your state's safety inspection requirements for the exact list.
Is it worth paying for a professional pre-purchase inspection?
Yes, if you are not comfortable with a wrench or the bike is priced above $3,000. A mechanic with a lift and diagnostic scan tool can find issues you might miss, such as a failing regulator/rectifier or hidden frame damage. Expect to pay $100 to $200, which is cheap insurance against a $1,500 repair. Use the report to negotiate or walk away.
Buying used does not have to feel like a gamble. CDM Truck And Cycle Sales offers a stress-free buying experience, fair trade-in offers even when you buy elsewhere, and a wide network to track down the exact bike you want. Get started with CDM Truck And Cycle Sales and ride away knowing exactly what you bought.